This past week I’ve been using more of the prior posts techniques to try and learn how to get an eye for what I really like. The big breakthrough for me was realizing I can paint in any layer and not just with solid colour. In the example below I started off with last posts technique to add the bright green back to the bird. When I was done with that I thought it still looked bland. I then went into the “colour balance” layer and moved the dial until I liked how the tree was looking. After I found a colour, I used the technique of painting in the white layer to keep the edit confined to the tree. I also went ahead and did the same with the back round.
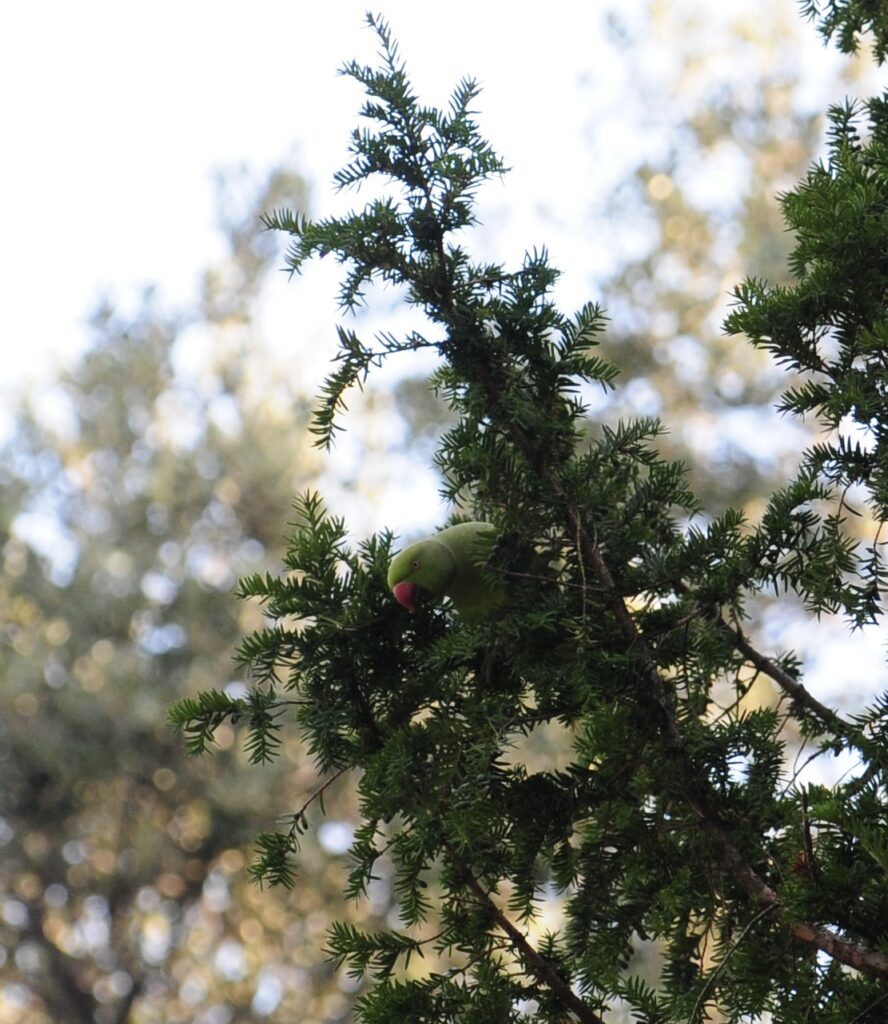

You can see the edits that were made on the 3 layers here.

the splotches in white were what I painted in and the black is what doesn’t have the filter added to it.
I learned another method that is good for speeding up the process if you have a lot of good photos that just need minor tweaks. It’s a way of bringing up a filter that has all the features of the photoshop layers I’d normally want for quick edits. To bring up this filter you want to go up to the filter tab at the top of your screen and select “camera raw filter”.

Once you select it you’ll be brought to an overlay of your Image with a lot of options to the side.

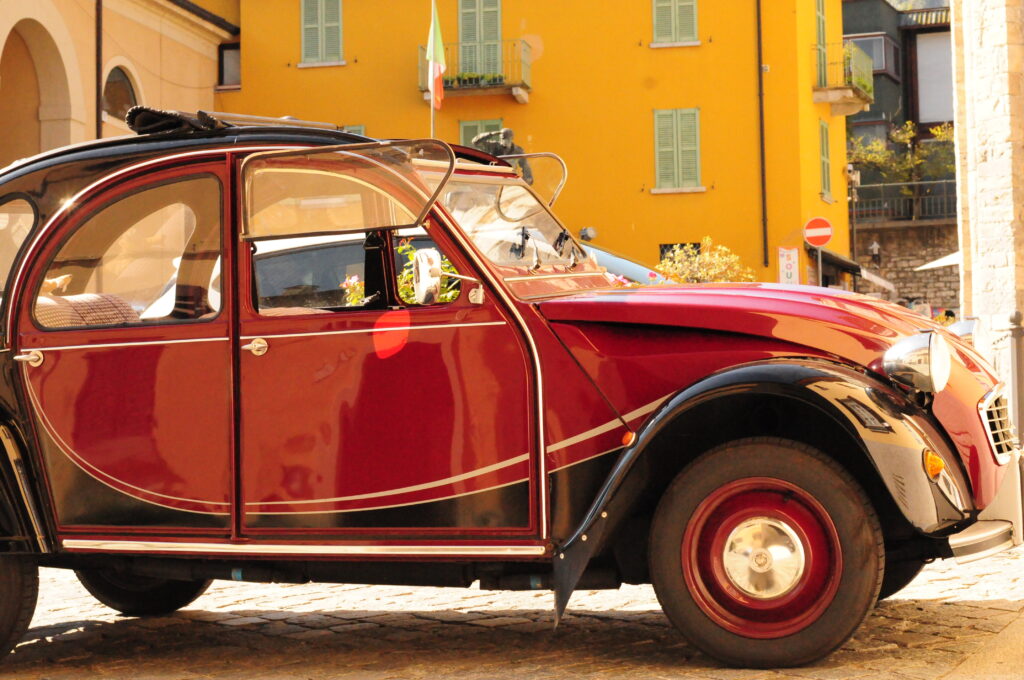
These are all what I’d call stereotypical layers you might want to bring up. I used this to edit a lot of my photos that I just wanted to touch up that I already liked. This photo I took In Italy and just wanted to give it a little more contrast too and so used the camera raw filter.