This is a video I made showing the skills and progress I learned during this course
Category: Inquiry
This is the category to apply to your Inquiry posts.
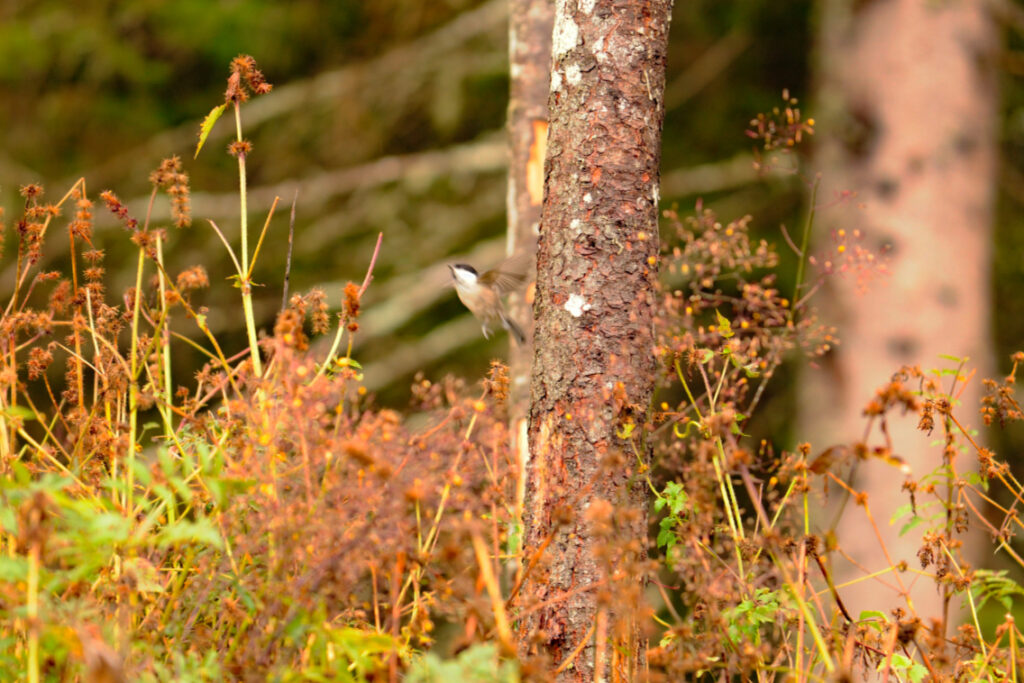
This past week I’ve been using more of the prior posts techniques to try and learn how to get an eye for what I really like. The big breakthrough for me was realizing I can paint in any layer and not just with solid colour. In the example below I started off with last posts technique to add the bright green back to the bird. When I was done with that I thought it still looked bland. I then went into the “colour balance” layer and moved the dial until I liked how the tree was looking. After I found a colour, I used the technique of painting in the white layer to keep the edit confined to the tree. I also went ahead and did the same with the back round.
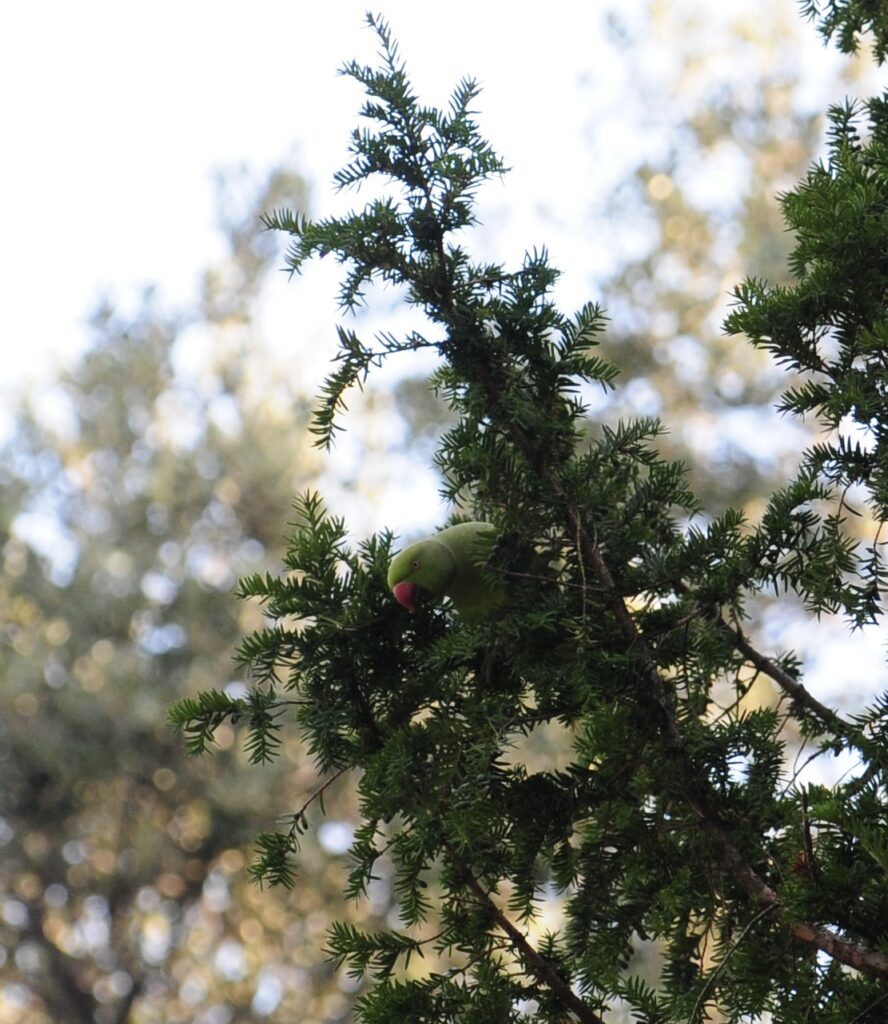

You can see the edits that were made on the 3 layers here.

the splotches in white were what I painted in and the black is what doesn’t have the filter added to it.
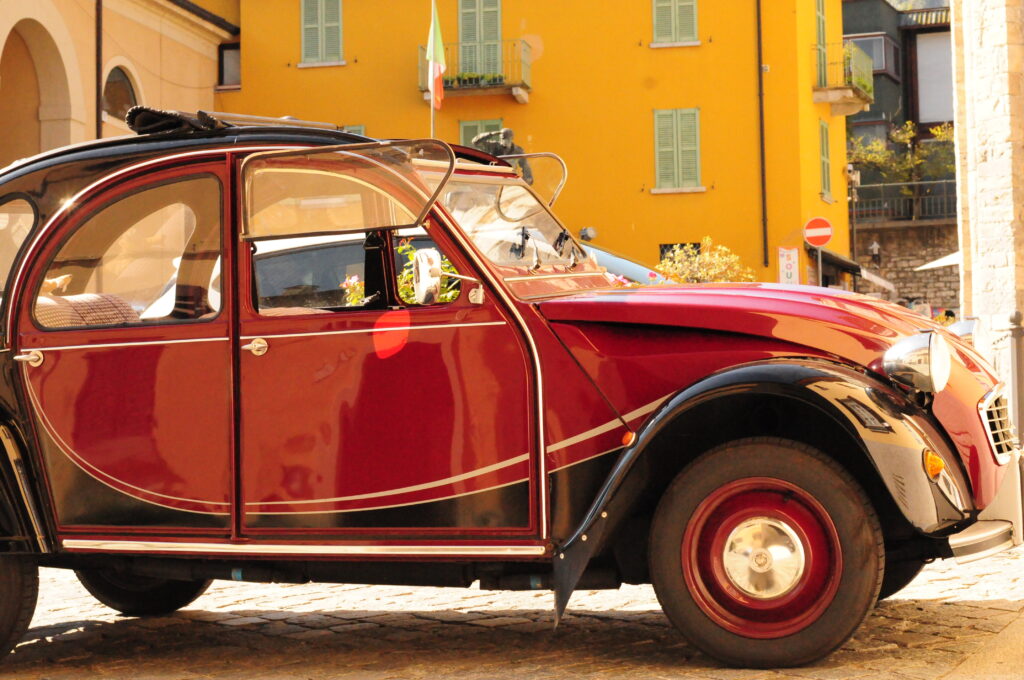
I learned another method that is good for speeding up the process if you have a lot of good photos that just need minor tweaks. It’s a way of bringing up a filter that has all the features of the photoshop layers I’d normally want for quick edits. To bring up this filter you want to go up to the filter tab at the top of your screen and select “camera raw filter”.

Once you select it you’ll be brought to an overlay of your Image with a lot of options to the side.

These are all what I’d call stereotypical layers you might want to bring up. I used this to edit a lot of my photos that I just wanted to touch up that I already liked. This photo I took In Italy and just wanted to give it a little more contrast too and so used the camera raw filter.

Last week I decided I wanted to learn a new method in photoshop. I found a professional Photographer on Youtube named Matt Shannon who happens to be from BC. The video I watched was about a method to give colour to otherwise bland photos. I used his methods to try and alter a photo I took of a house and sunset.
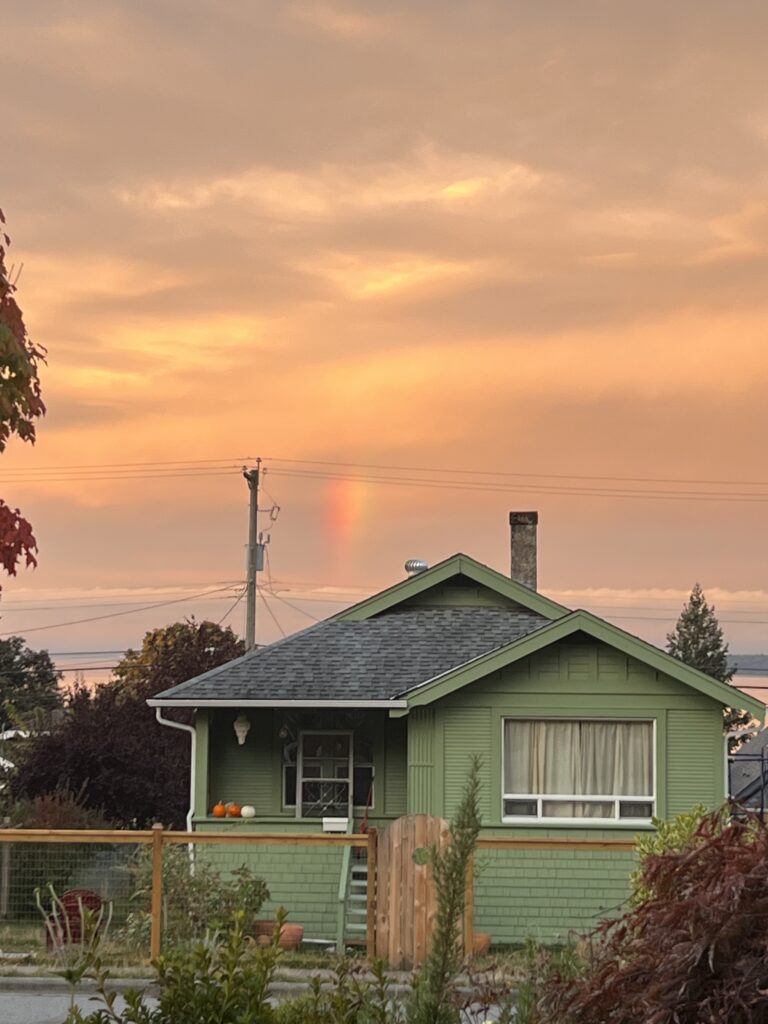

What I did here was add an adjustment layer, then selected solid colour and fiddled around until I found a colour that might be good for the house. The next step is to turn it from “normal” to “soft light”. Once you’ve done that you can turn the layer mask from black to white by pressing command I to conceal the selected colour. The reason for this is so we can use the “brush tool” to paint in the area we want to have that colour. Instead of the whole image.
This process of selecting a colour to overlay and painting in the desired area can be repeated for the different parts of the photo. I chose to have a darker green on the house and a grey for the roof. I like what I’ve done with the house but I think I needed to do something else with the sky. Non the less its clear how much better the house looks with just a few alterations. His video has a proper walk through of ways to use it and a better tutorial of how. Here’s the video I watched by Matt on how to edit using the Photoshop brush tool.
I decided to try and adjust some of my photos that have obvious blemishes as a place to start. I think this will be the easiest way for me to practice as I get used to the navigation. The smudges from my camera lens can easily be removed by using the Spot Healing Brush tool.

This next image I took in Italy. I thought it could be good, but it’s quite blown out and the bird is obviously not in focus. I wanted to see if I could make the whole image less harsh and make the bird less blurry. I was able to tone down the vibrance using Brightness and Contrast layer and tried the Clarity and Dehaze layer. They both helped but I’m not sure if that is the quickest or best method. I was unable to bring the bird into focus.

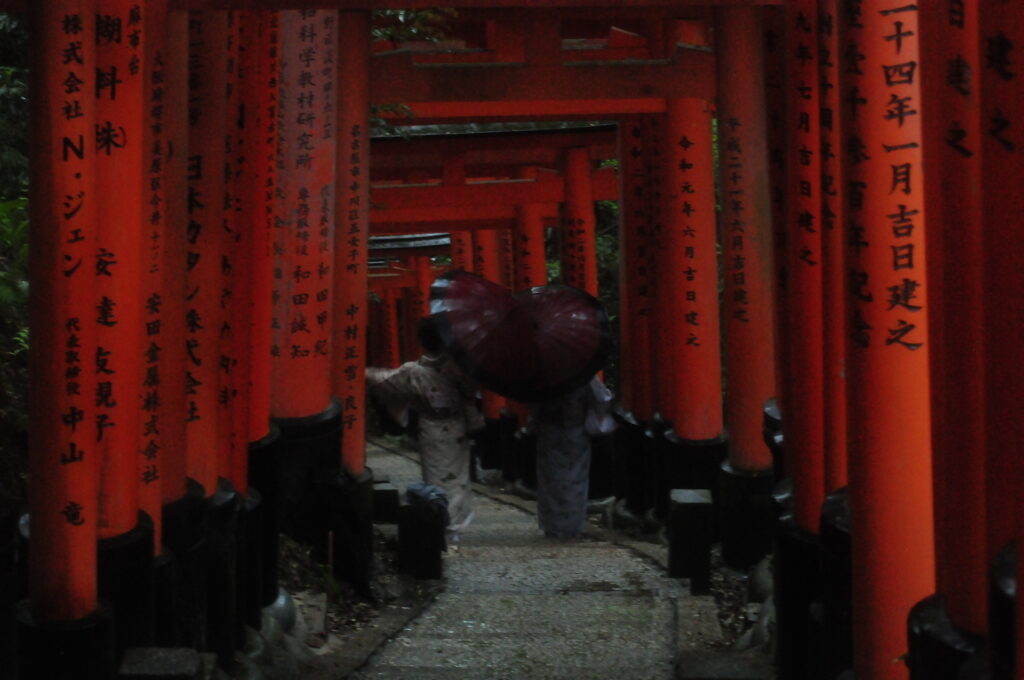
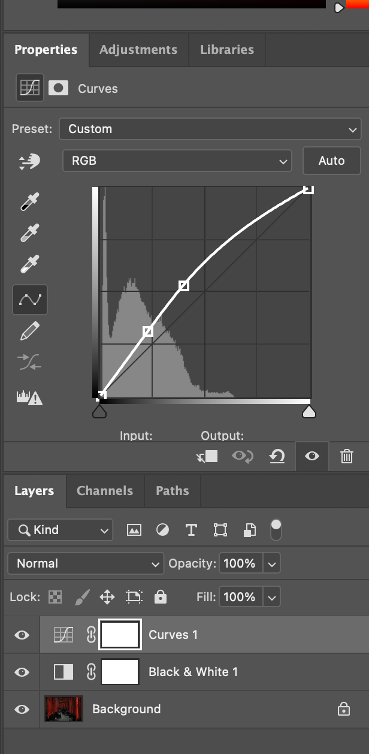
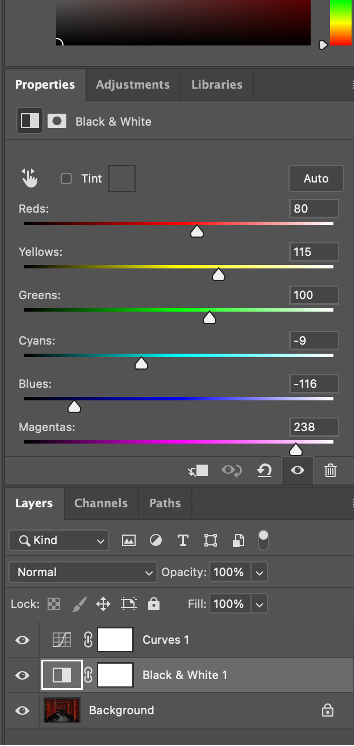
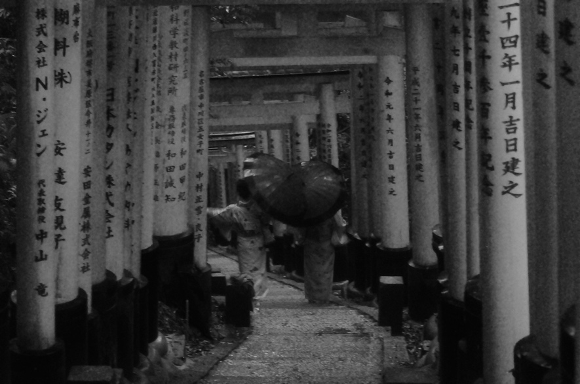
On my first day with photoshop I started playing around with some of the settings following the “Photoshop for Beginners Introduction” in the EdTech tutorial List on the course page. This shows the basics, like how to open and save a new file as well as adding layers. while following the tutorial it also prompted me to try the Black & White settings. The tutorial gives a reference photo but I opted to use one that I took while in Japan.